


Have you ever watched rain rush off your roof and flood your yard? That messy puddle is a sign your yard needs help. A smart rain garden design can fix that problem. It also makes your yard look amazing.
I have watched neighbors turn soggy, muddy corners into colorful flower beds. The change is not just pretty. It also stops water from washing dirt and chemicals into nearby streams. That is a big win for your home and for nature.
In this guide, we will walk through everything you need to know. You will learn what a rain garden is, why it matters, and how to build one yourself. We will cover rain garden designs that fit small yards and big yards alike. By the end, you will feel ready to start designing a rain garden of your own.
Let’s dig in, literally, and discover how easy this project can be.
What Is a Rain Garden, and Why Does It Matter?
A rain garden is a shallow dip in your yard. It is filled with soil and plants that love water. When it rains, water flows into this dip instead of running off your yard. The plants and soil soak it up slowly.
Think of it like a sponge for your yard. Instead of water rushing into storm drains, it gets a chance to soak into the ground. This helps refill groundwater. It also filters out oil, dirt, and other pollutants before they reach rivers and lakes.
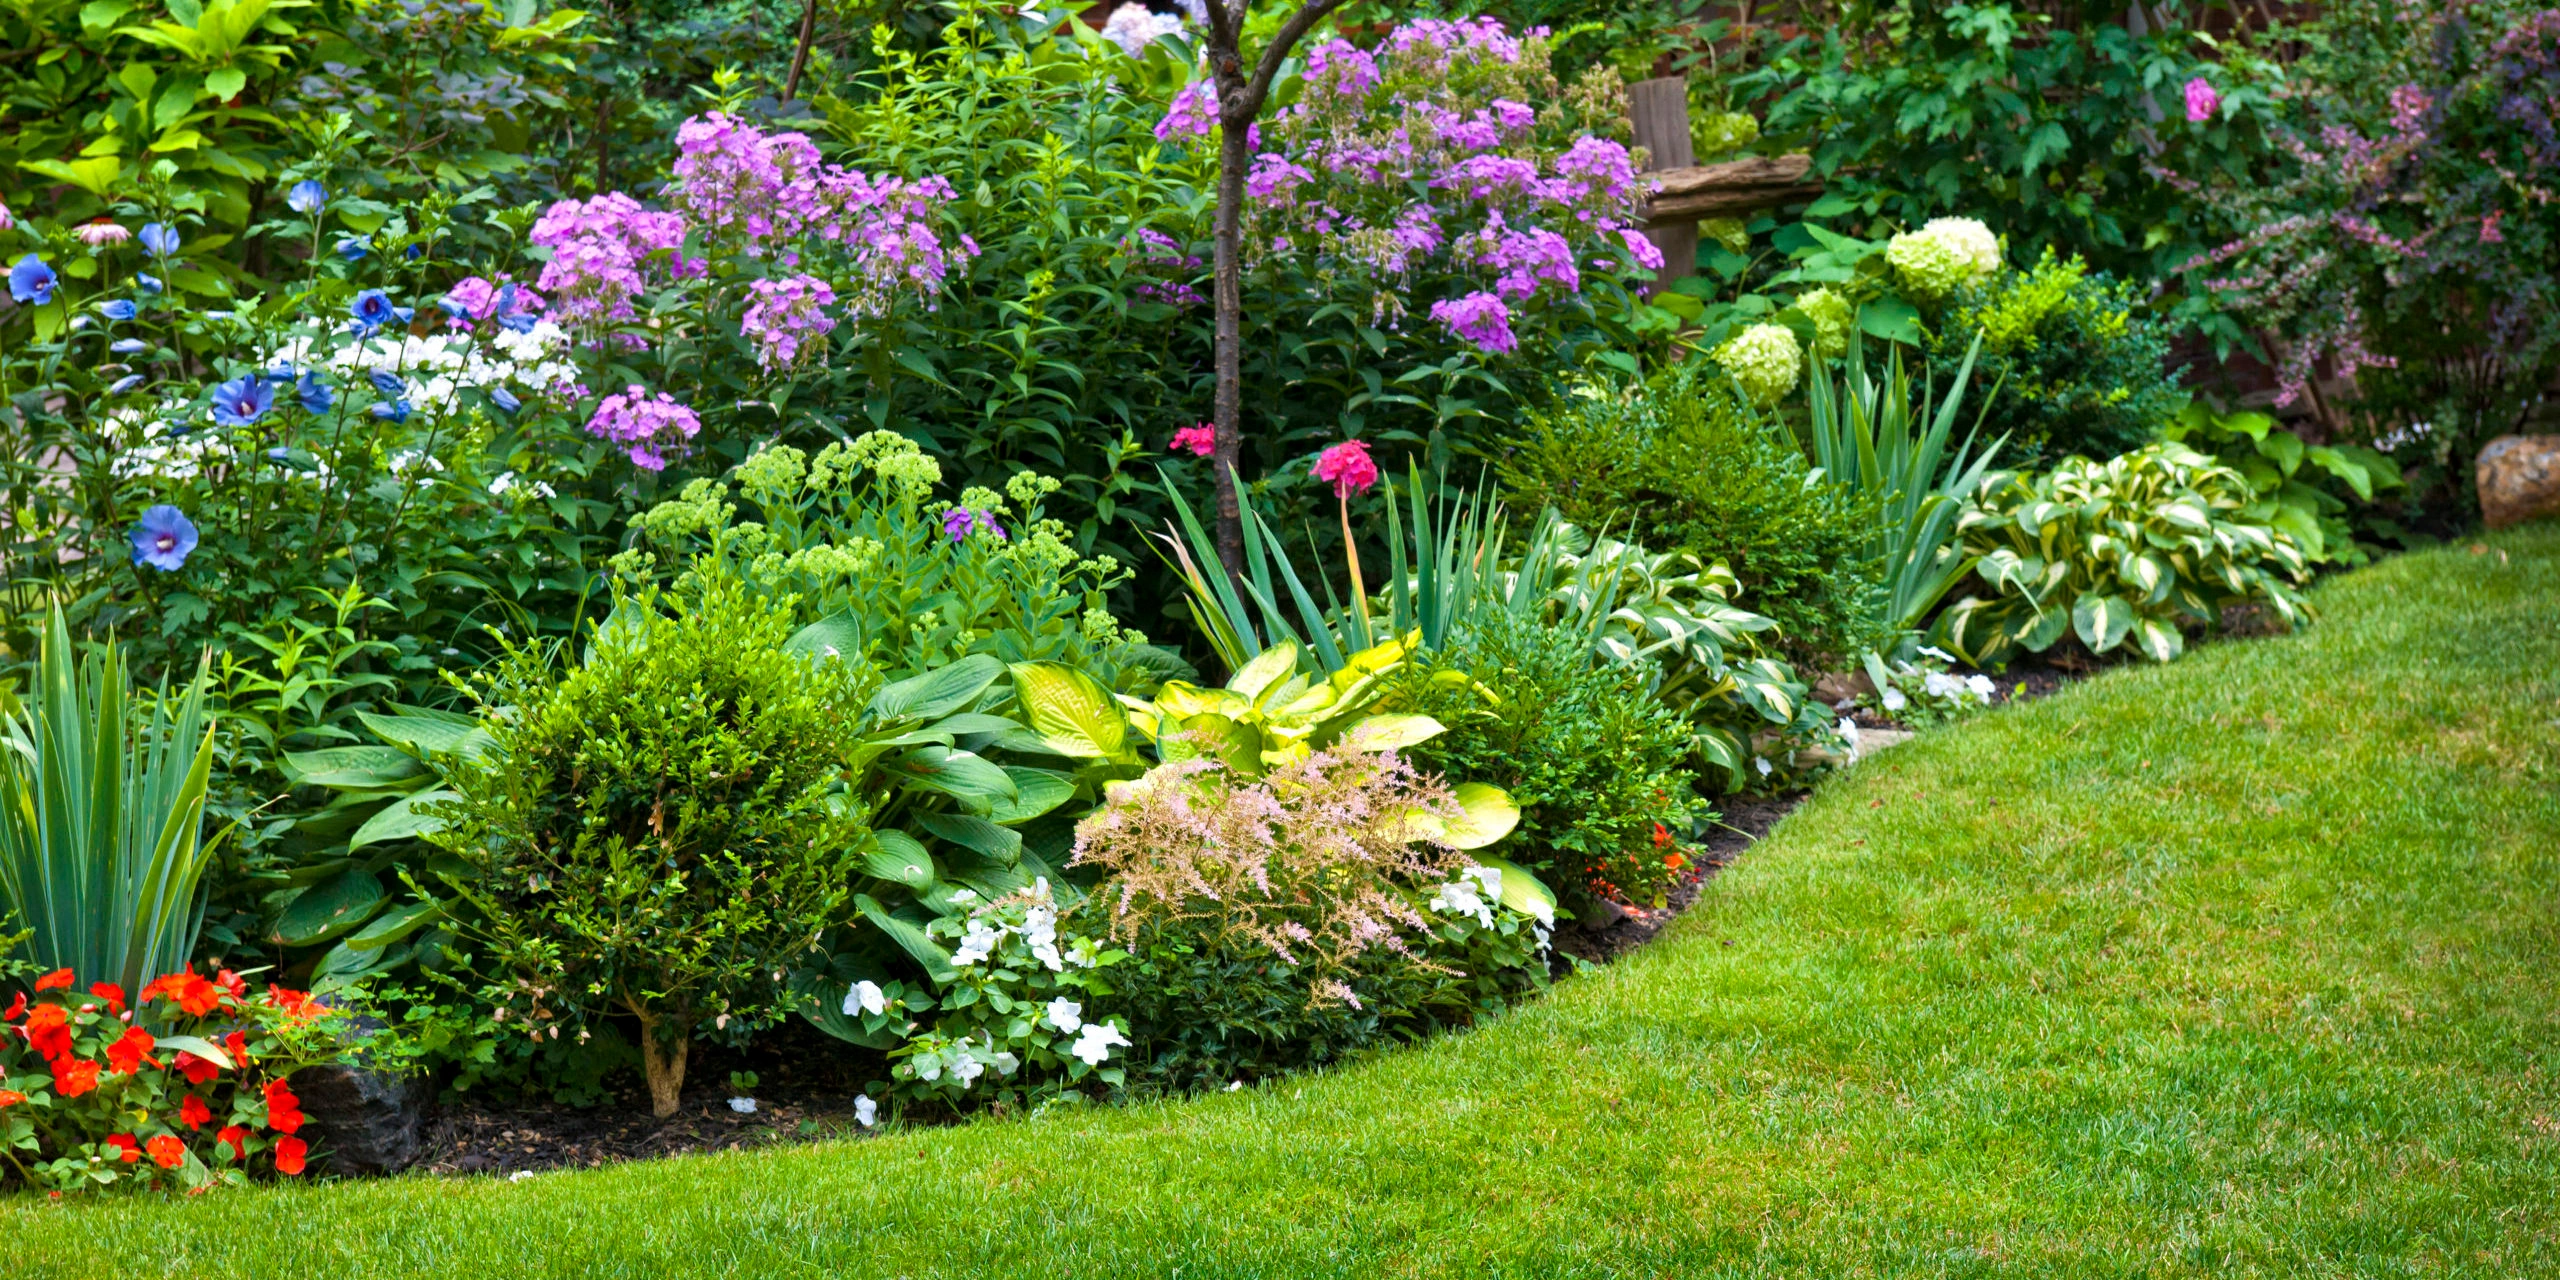
Rain garden design is not just about function, though. It is also about beauty. A well-planned rain garden can be the star of your front yard. It can burst with color from spring through fall. Neighbors will stop and ask about it, I promise.
Cities across the country now encourage homeowners to build rain gardens. Some even offer rebates. That tells you how much value experts place on this simple idea. A basic rain garden design and installation guide can help anyone start this rewarding project.
The Real Benefits of a Well-Planned Rain Garden
Let’s talk about why this project is worth your weekend. First, rain gardens reduce flooding. Water that used to pool near your foundation now soaks into a garden bed instead. That can protect your basement from damage.
Second, rain gardens improve water quality. Roads and roofs collect oil, salt, and chemicals. Without a rain garden, that dirty water runs straight into local streams. A rain garden filters much of it out naturally, using roots and soil like a living filter.
Third, rain gardens support wildlife. Native flowers attract bees, butterflies, and birds. I have seen hummingbirds visit rain gardens within the first summer of planting. That is a real, fast reward for your effort.
Fourth, rain gardens increase home value. Buyers love low-maintenance landscaping that also looks stylish. A thoughtful rain garden design can boost curb appeal without needing constant watering or mowing.
Lastly, rain gardens save money over time. Once established, native plants need little care. You will spend less on water bills and lawn upkeep in the long run.
Choosing the Best Spot for Your Rain Garden
Location matters more than almost anything else. Pick the wrong spot, and your rain garden may not work well. Pick the right one, and it will practically take care of itself.
Start by watching your yard during a rainstorm. Where does water naturally collect? That low spot is often a great starting point. You want a place that already gathers some runoff from your roof, driveway, or lawn.
Keep your rain garden at least ten feet away from your house. This protects your foundation from extra moisture. Avoid spots directly over septic systems or underground utility lines. Call your local utility locator service before you dig, just to be safe.
Sunlight also plays a role. Most rain garden plants love full sun, meaning six or more hours a day. A partly shaded spot can still work, but you will need to choose shade-loving native plants instead.
Lastly, avoid areas where water already pools for more than a day after rain. That may mean your soil drains too slowly, and you will need to fix drainage first.
Understanding Your Soil Before You Dig
Soil is the heart of any successful rain garden design. Different soils drain at different speeds, and that changes how you build your garden. Skipping this step is one of the most common mistakes homeowners make.
Here is a simple test. Dig a hole about one foot deep and wide. Fill it with water and let it drain completely. Then fill it again and time how long it takes to empty. If it drains within 24 hours, your soil works well for a rain garden.
Clay soil drains slowly and holds water for a long time. Sandy soil drains fast, sometimes too fast for plants to soak up nutrients. Loamy soil, a mix of sand, silt, and clay, is often the best option for designing a rain garden.
If your soil drains too slowly, you can amend it. Mixing in compost and coarse sand often improves drainage. This step takes extra effort, but it pays off with a healthier, longer-lasting garden.
| Soil Type | Drainage Speed | Rain Garden Suitability |
|---|---|---|
| Sandy Soil | Fast | Good, but may need organic matter |
| Loamy Soil | Moderate | Excellent, ideal for most designs |
| Clay Soil | Slow | Needs amending before planting |
| Silty Soil | Moderate to Slow | Fair, benefits from added compost |
Sizing and Shaping Your Rain Garden
Now comes the fun part: figuring out size and shape. The right size depends on how much water flows into your yard and how well your soil drains. A garden that is too small will overflow during heavy storms.
A simple rule many experts use is this. Your rain garden should be about 20 to 30 percent of the size of the area draining into it. For example, if your roof and driveway send water across 1,000 square feet, aim for a garden between 200 and 300 square feet.
Depth matters too. Most rain gardens are four to eight inches deep. Sandy soil that drains fast can handle a shallower garden. Clay soil that drains slowly usually needs a deeper basin to hold water longer.
Shape is where you get creative. Kidney shapes, ovals, and curved borders all work beautifully. Avoid sharp corners, since water tends to pool unevenly there. A gentle, flowing shape blends naturally into your landscape and looks more like it belongs.
| Drainage Area | Suggested Garden Size | Suggested Depth |
|---|---|---|
| 500 sq ft | 100–150 sq ft | 4–6 inches |
| 1,000 sq ft | 200–300 sq ft | 5–7 inches |
| 1,500 sq ft | 300–450 sq ft | 6–8 inches |
Rain Garden Design Ideas for Every Yard Style
You do not need a huge yard to enjoy a rain garden. Small spaces can hold beautiful, compact designs. A cottage-style rain garden with layered flowers works well near a front porch. Tall plants sit in the back, shorter ones up front.
For modern homes, try a clean, structured layout. Use fewer plant varieties, but repeat them in neat clusters. Add smooth stones or a gravel border for a crisp, tidy look that matches contemporary architecture.
If you love wildlife, design a pollinator-friendly rain garden. Mix native wildflowers like black-eyed Susan, coneflower, and milkweed. These attract bees and butterflies all season long, turning your yard into a living, buzzing habitat.
Corner lots and sloped yards benefit from terraced rain garden designs. Build small tiered basins that catch water as it flows downhill. Each level slows the water a bit more before it reaches the next one.
Whatever style you choose, remember this: good rain garden design ideas always balance beauty with function. A garden that looks stunning but drains poorly will disappoint you within a season.
Picking the Right Plants for Long-Term Success
Plant choice can make or break your rain garden. The goal is picking plants that can handle both flooding and dry spells. Native plants are almost always your best bet, since they already thrive in your local climate.
Divide your garden into three zones. The center zone floods most often, so use plants that love wet feet, like swamp milkweed or blue flag iris. The middle zone stays moist but not soaked, perfect for black-eyed Susan or joe-pye weed.
The outer zone dries out fastest between rains. Choose plants like little bluestem or purple coneflower here. These handle both moisture and drought without wilting or dying.
Avoid invasive species, even if they look pretty at the garden store. They can spread aggressively and choke out native plants nearby. A quick search of your state’s native plant list will guide you toward safe, healthy choices.
| Zone | Moisture Level | Example Plants |
|---|---|---|
| Center | Wettest, floods often | Blue Flag Iris, Swamp Milkweed |
| Middle | Moist, occasional standing water | Black-Eyed Susan, Joe-Pye Weed |
| Outer | Driest, brief moisture only | Purple Coneflower, Little Bluestem |
A Step-by-Step Rain Garden Design and Installation Guide
Ready to build? Here is a simple rain garden design and installation guide you can follow this weekend. Start by marking your garden’s outline with spray paint or a garden hose. This gives you a visual sense of the space before you dig.
Next, remove the grass and topsoil inside the outline. Dig down to your planned depth, keeping the base as flat as possible. Slope the sides gently instead of digging straight walls, since steep sides can collapse over time.
Build a small berm, or raised edge, on the downhill side of your garden. This helps hold water inside the basin during heavy storms. Pack the soil firmly so it does not wash away.
Mix compost into the native soil if your drainage test showed slow results. Then add your plants, placing wet-loving species in the center and dry-tolerant ones near the edges. Water everything thoroughly right after planting.
Finally, add two to three inches of mulch around your plants. This keeps moisture in the soil and blocks weeds from taking over. Within a few weeks, your rain garden should start settling into its new role.
Common Mistakes to Avoid When Designing a Rain Garden
Even great planners make mistakes their first time. Knowing common pitfalls ahead of time saves you frustration later. One frequent error is placing the garden too close to the house. This can lead to water seeping into your basement.
Another mistake is skipping the soil drainage test. Homeowners sometimes assume all soil works the same way. It does not. Poor drainage planning leads to a swampy mess instead of a thriving garden.
Choosing the wrong plants is another common issue. Non-native plants that cannot handle flooding often die within a season. This wastes money and effort, and it can discourage first-time gardeners from trying again.
Some people also make their rain garden too small. If it cannot hold enough water, it overflows during storms, defeating its whole purpose. Always double-check your sizing calculations before digging.
Lastly, forgetting mulch is a small but costly mistake. Without it, weeds take over fast, and soil dries out too quickly between rains, stressing your new plants.
Maintaining Your Rain Garden Through the Seasons
A rain garden is not “set it and forget it,” especially in the first year. New plants need regular watering while their roots establish. After the first year, though, maintenance becomes much easier.
In spring, remove dead leaves and check for erosion around the edges. Add fresh mulch if the old layer has thinned out. This is also a good time to divide any plants that have grown too large for their space.
Summer is mostly about weeding and watching for pests. Pull weeds before they spread seeds, since they compete with your rain garden plants for nutrients. Established native plants rarely need extra watering, even during dry spells.
In fall, cut back dead stems if you prefer a tidy look. Many gardeners leave some stems standing, though, since they provide shelter for beneficial insects over winter. It is really a personal choice.
Winter requires almost no work at all. Just make sure snow piles or ice melt products from your driveway do not drain directly into the garden, since salt can harm plants over time.
Rain Garden Design Costs and Budgeting Tips
Cost varies widely based on size, plants, and whether you hire help. A do-it-yourself rain garden can cost as little as a few hundred dollars for a small space. Larger or professionally installed gardens can run into the thousands.
Native plants are often cheaper than fancy nursery hybrids, and they survive better long-term. Buying small plugs instead of mature plants also saves money, since they grow quickly once established in the right conditions.
Mulch, compost, and edging materials add to your budget too. Shopping local nurseries for native species often beats big box stores on both price and plant health. Many communities also host native plant sales in spring.
Check if your city offers rebates for rain garden installation. Many stormwater programs pay homeowners for reducing runoff. This can offset a good chunk of your total project cost, making the investment even more worthwhile.
| Budget Level | Approximate Cost | What’s Included |
|---|---|---|
| DIY Small Garden | $150–$400 | Native plugs, mulch, basic tools |
| DIY Medium Garden | $400–$900 | More plants, soil amendments, edging |
| Professional Install | $1,000–$4,000+ | Design, labor, premium plants, grading |
Final Thoughts: Start Small, Grow Big
Rain garden design does not have to feel overwhelming. Start with a small section of your yard if you are unsure. You can always expand once you see how well it works and how much you enjoy it.
Every rain garden, no matter the size, makes a real difference. It protects your home from flooding, filters harmful runoff, and gives local wildlife a healthy place to thrive. Best of all, it gives your yard a unique, colorful personality.
I encourage you to walk your yard today and find that perfect low spot. Sketch out a rough shape, test your soil, and start dreaming about which flowers will bloom there. Your future self, and the environment, will thank you.
Ready to get started? Grab a shovel, mark your space, and begin designing a rain garden that fits your home and your style. Share your progress with neighbors. You might just inspire someone else to build one too.
Frequently Asked Questions
1. How long does it take for a rain garden to start working well?
Most rain gardens start functioning right after installation, since the basin captures water immediately. Plants usually take one to two growing seasons to fully establish strong roots for maximum absorption.
2. Can I build a rain garden in a small backyard?
Yes, absolutely. Even a garden as small as fifty square feet can help manage runoff. Rain garden design ideas for tiny spaces often focus on vertical layering and compact native plants.
3. Do rain gardens attract mosquitoes?
No, not if built correctly. A properly designed rain garden drains within 24 to 48 hours, which is too fast for mosquitoes to lay and hatch eggs successfully.
4. What is the best time of year to install a rain garden?
Spring and fall are ideal, since temperatures are mild and rainfall is often steady. This helps new plants establish roots before facing summer heat or winter cold.
5. Do I need a permit to build a rain garden?
Usually not for small residential projects, but rules vary by city. It is smart to check with your local planning department before digging, especially near property lines.
6. How much maintenance does a rain garden really need?
After the first year, maintenance is minimal. Occasional weeding, mulching, and seasonal cleanup are usually enough to keep a well-planned rain garden thriving for years.
Related posts:
- Housing Market Forecast 2026: What Buyers and Sellers Need to Know
- Warning Signs of Electrical Problems You Should Never Ignore
- Why You Need a Tree Risk Report Before Buying a Property With Mature Trees
- Why Scheduling Early Is the Smart Choice for Outdoor Christmas Light Installation
- Best Outdoor Kitchen Ideas for Texas Backyards
